Perfect for those rainy days when all you want to do is cuddle inside with a blanket and a warm drink. Create your own, custom made and super cute pillow to brighten up a grey day.
What You Need
|  |
What to Do
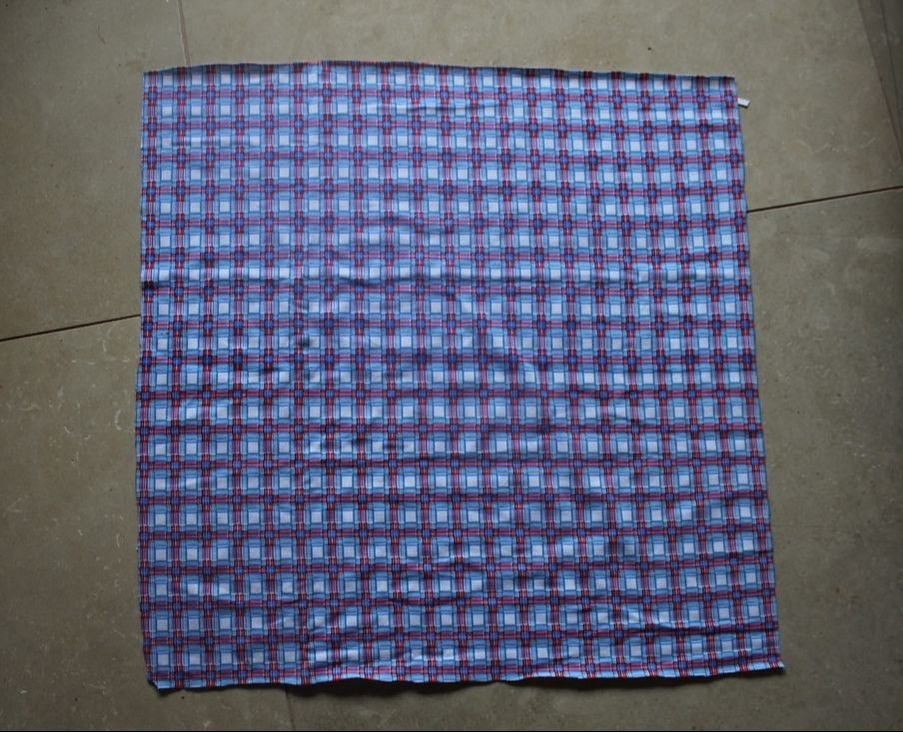
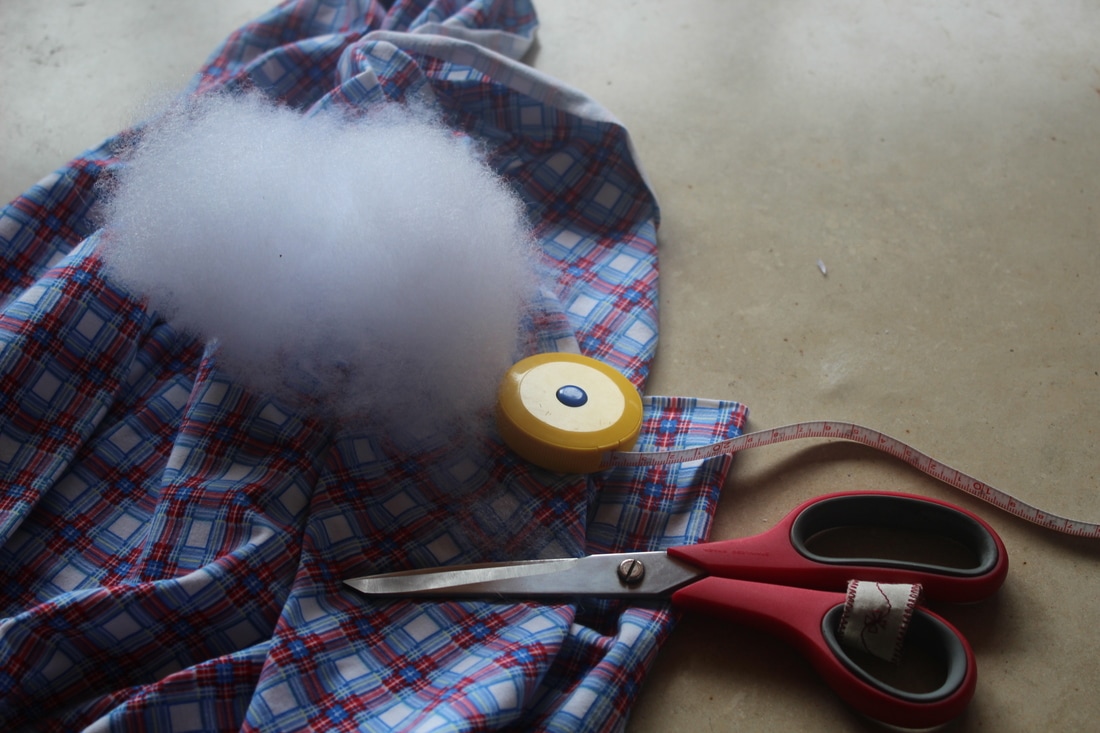
1. Layout your fabric. Decide how big you want your pillow to be and add around 10ish cm to this number. Cut out a square in this size. Mine was around 49x49
(Becuase I had a checked pattern I used this as my guideline. I also didn't really know how big I wanted it so I just guessed a size)
(Becuase I had a checked pattern I used this as my guideline. I also didn't really know how big I wanted it so I just guessed a size)
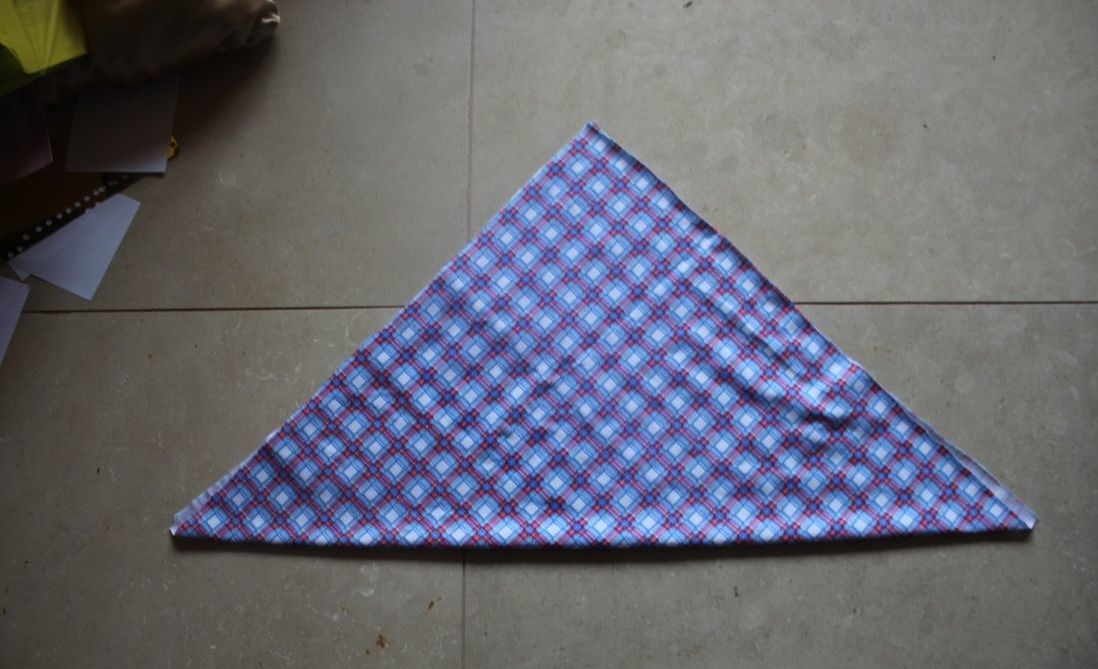 | 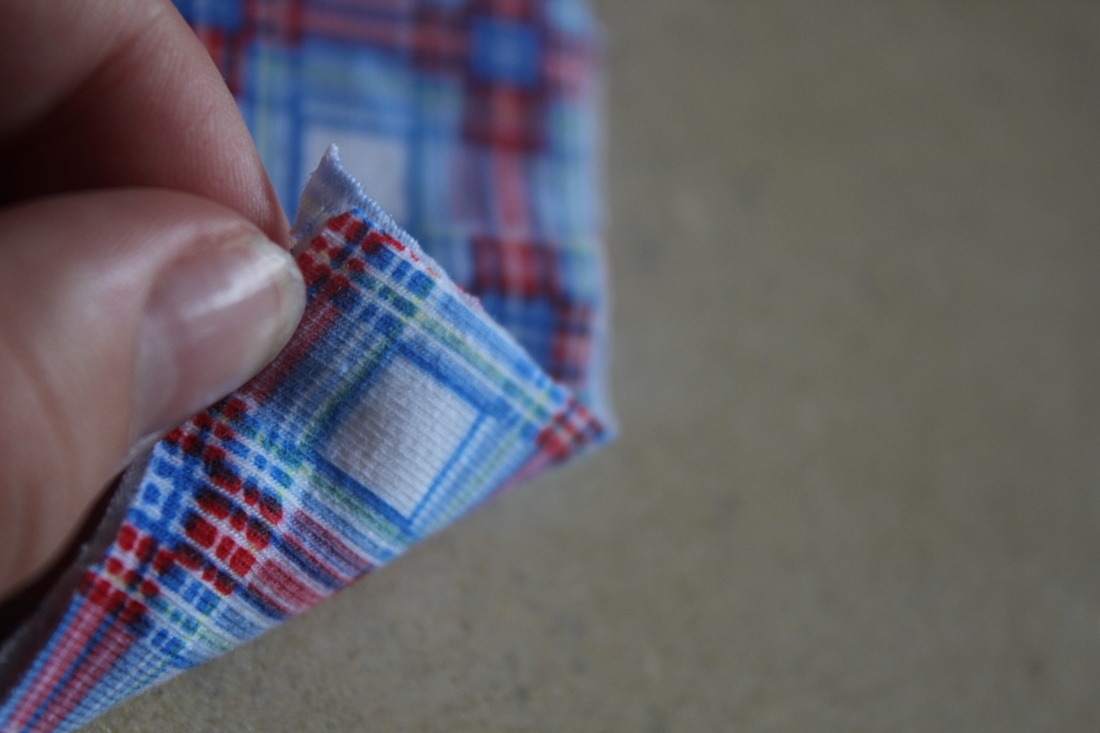 |
2. Fold your square into a triangle and trim as needed to ensure you have an almost perfect triangle. Unfold and use this as a template to cut another square that same size. When you have two squares lay them on top of eachother so that the pattern side of the fabric is facing outwards on both sides, when you lift the cornner you should see the patterend side of the fabric. (see picture). You may need to trim the squares so they match up.
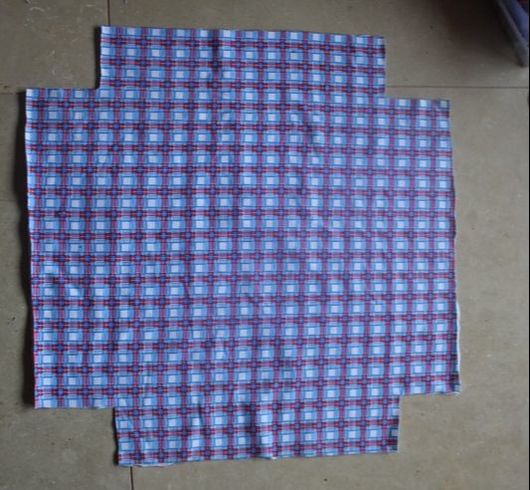
3. Cut small squares out of each cornner. Mine measured around 8x8
(again, I measured using my checked patteren)
(again, I measured using my checked patteren)
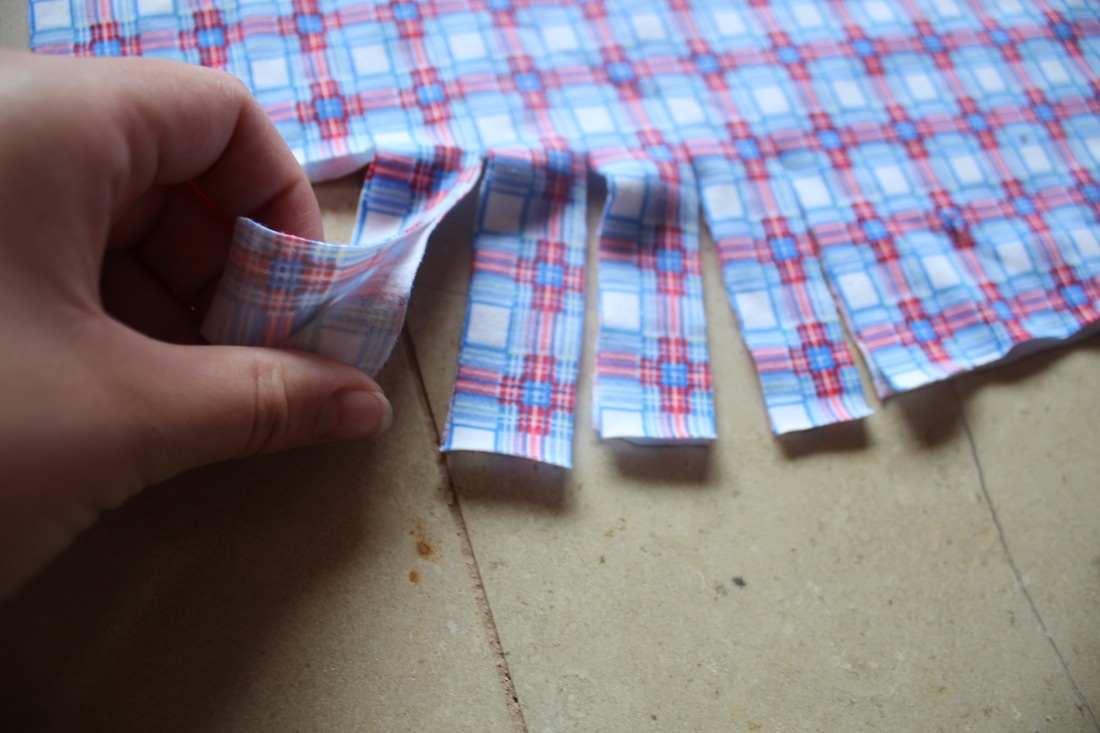 | 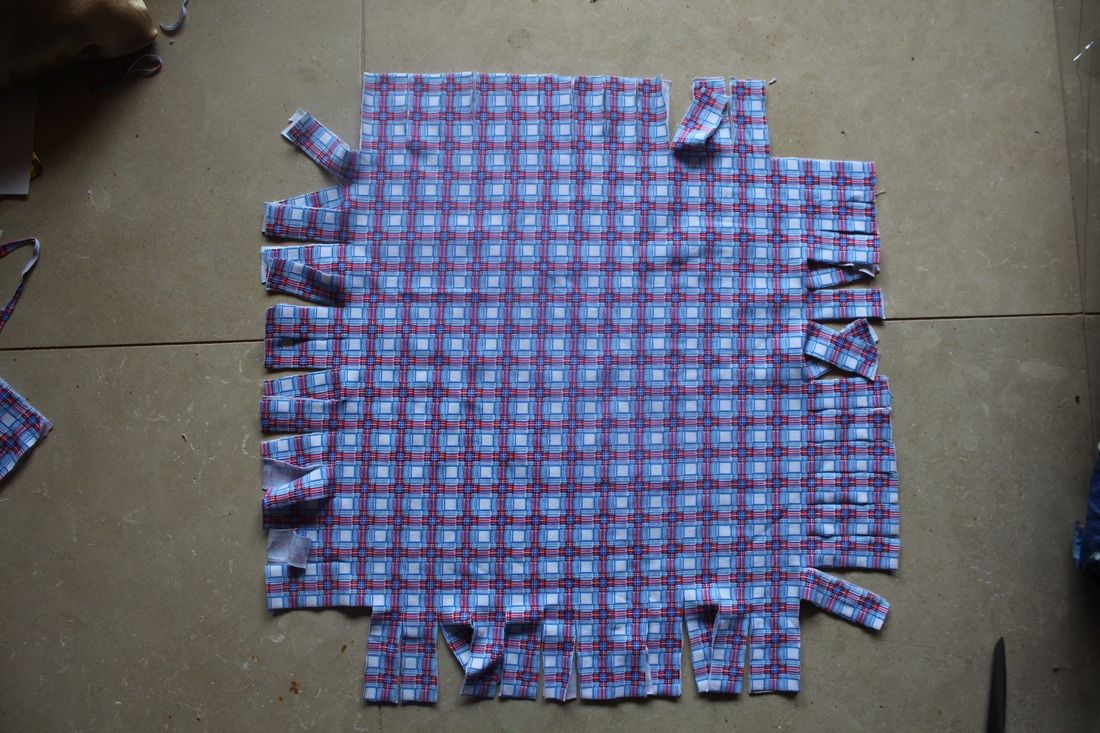 |
4. Cutting through both layers of fabric cut smallish strips along the lengths of the square. Mine were 8cm tall and around 3cm wide. I though this may have been a bit wide but it seemed to work fine. If you cut your strips thinner you will have a more fine tassel and more knots to tie
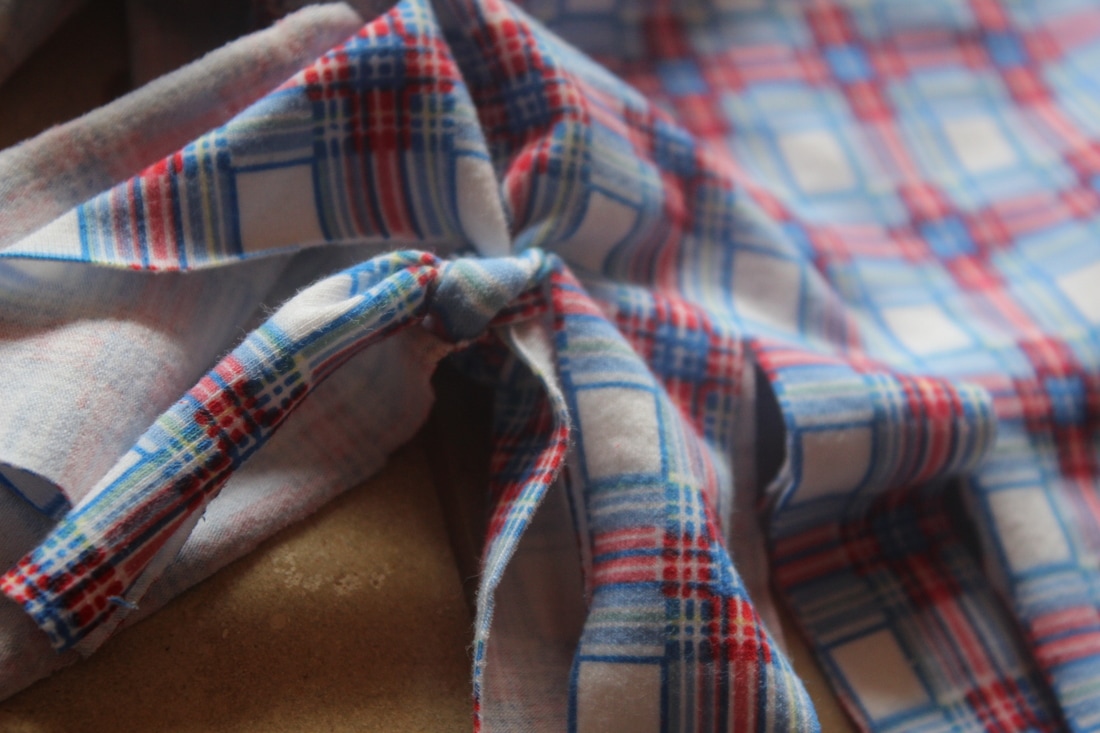 |  |
5. Take pair of stips (one from the top fabric and one from the bottem) and tie them together. I used double knots beause I felt it was more secure, but you could do single knots as well. Do this on 3 sides of the pillow only.
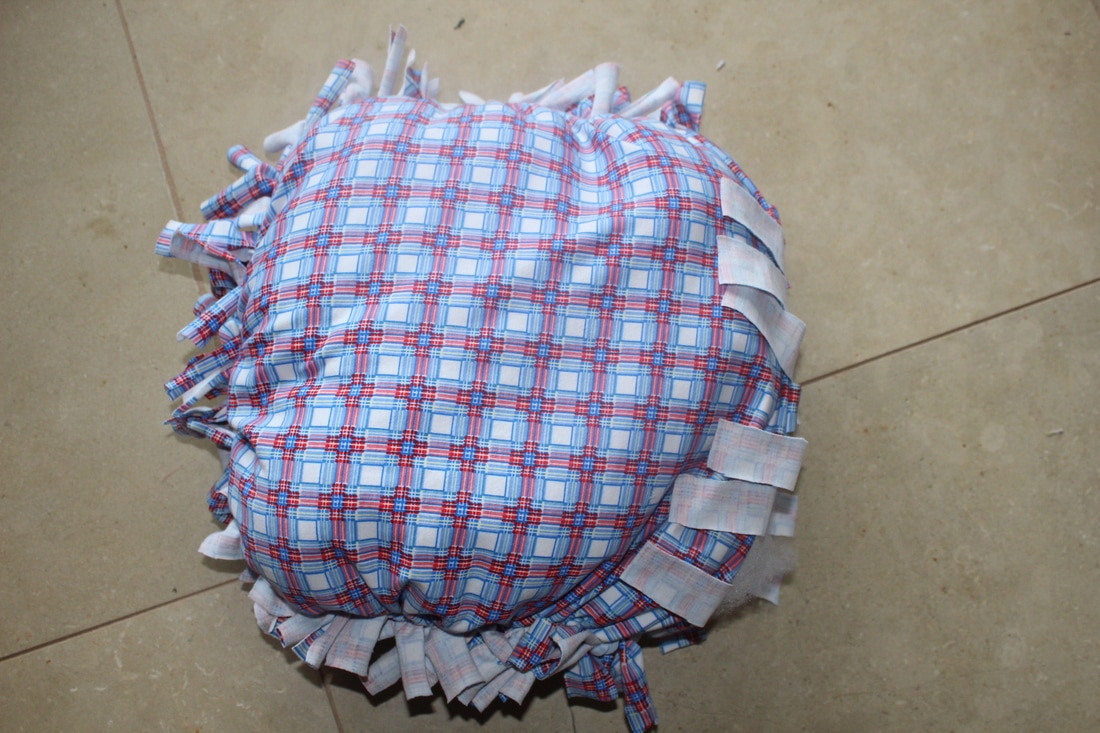
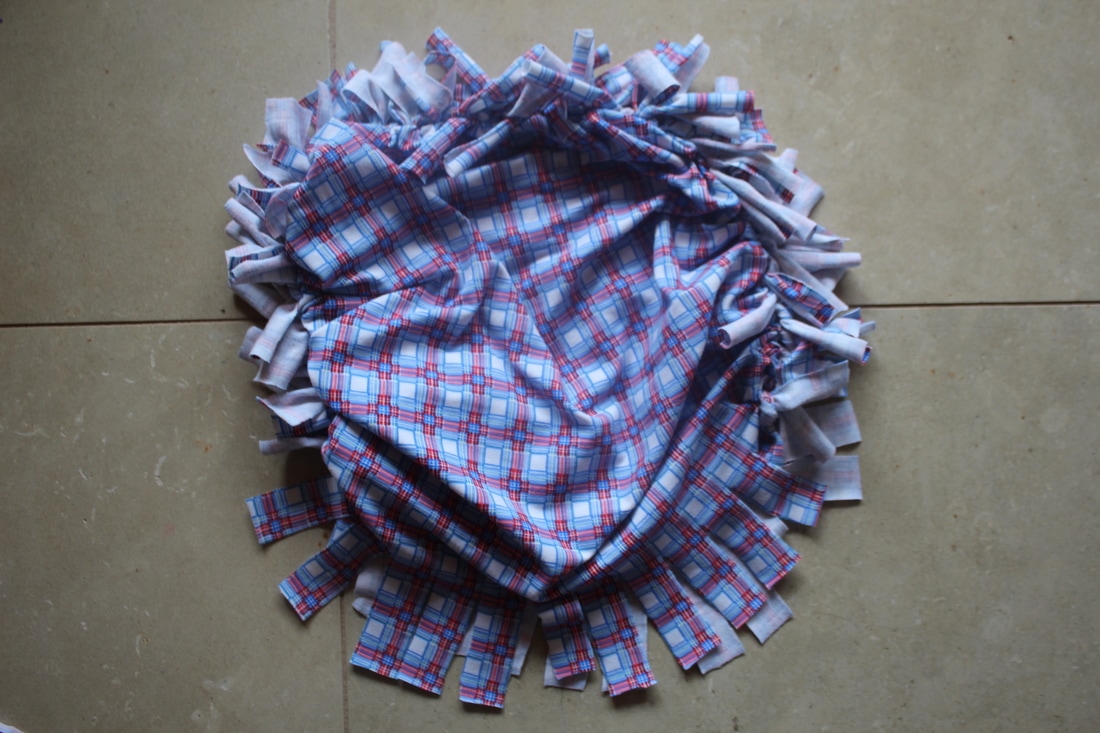
6. Stuff the pillow. Try not to over or under stuff it, just enough to make it poffy and squishy but not to firm (unless that's what you want). I may have understuffed mine a little but it seems to be fine. Finish be tying the last side together. As I got to the end of this side I added a little more stuffing, just to ensure it was a poffy as I wanted.
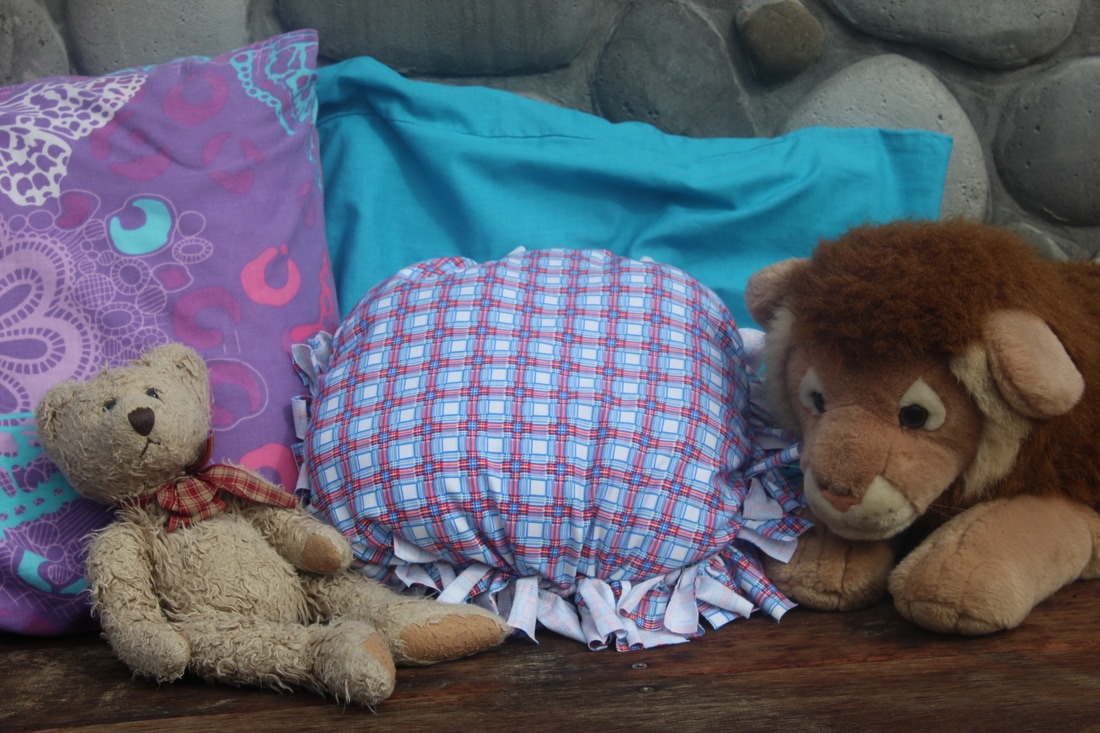
Enjoy! Leave any questions in the comments. (I'm not sure I explained that very well)